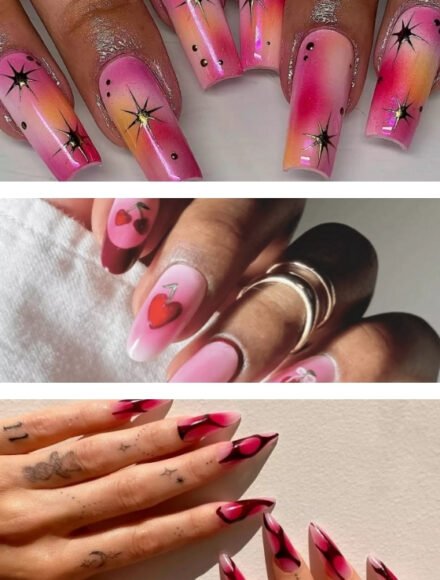
15 Essential Types of Nail Tips: A Complete Guide for Perfect Nails
When you’re choosing extensions, understanding the vast types of nail tips available is the first step to a perfect manicure—choosing the wrong one can genuinely ruin the entire look! You end up spending money on tips that simply don’t fit, they break constantly, or they look obviously fake. Today, selecting the right base for your nail enhancement is just as important as choosing the color. Nail tips are pre-made artificial extensions that attach to your natural nails, serving as the foundation for your nail art dreams. This guide is designed to solve your nail tip confusion once and for all, covering 15 distinct types, essential professional tips, and how to choose the perfect match for your specific nail shape, lifestyle, and goals.
Table of Contents
- What Exactly Are Nail Tips?
- Why use them?
- Full-Cover Tips
- Half-Well Tips
- No-Well Tips
- Stiletto Nail Tips
- Coffin/Ballerina Nail Tips
- Almond Nail Tips
- Square Nail Tips
- Squoval Nail Tips
- Rounded Nail Tips
- Lipstick Nail Tips
- Flare Nail Tips (Duck Tips)
- Edge Nail Tips
- Pipe Nail Tips
- Russian Almond Tips
- Reusable & Custom Nail Tips
What Exactly Are Nail Tips?
Nail tips are pre-shaped artificial extensions, usually made from durable materials like plastic (ABS), gel, or acrylic. Unlike simple press-on nails that rely on weak adhesive, tips are bonded directly to your natural nail plate.
Why use them?
- They instantly provide length and shape.
- They create a smooth, perfect surface for polish or complex nail art.
- They help protect weak or damaged natural nails underneath.
- They typically last 2–4 weeks with proper aftercare.
The truth is, not all tips are created equal. The right tip matches your nail shape perfectly, feels comfortable all day, and provides the necessary foundation for a long-lasting manicure. Your tip choice determines your entire manicure success!
Full-Cover Tips
These cover your entire nail from cuticle to tip. Perfect for severely damaged nails or chronic nail biters.
Pros: Maximum coverage, good for weak nails.
Cons: Can sometimes look thick; requires more blending time.
Half-Well Tips
They have a curved indent (the “well”) that fits over half of your natural nail. Ideal for beginners and medium extensions.
Pros: Very natural appearance, easy to blend, and cost-effective.
Cons: Requires precise sizing; limited length options.
No-Well Tips
These tips are completely flat with no curve or indent. Best for flat nail beds or advanced custom shaping.
Pros: Maximum flexibility, can be shaped to any curve, great for complex nail art.
Cons: Not beginner-friendly; requires more skill to apply flawlessly.
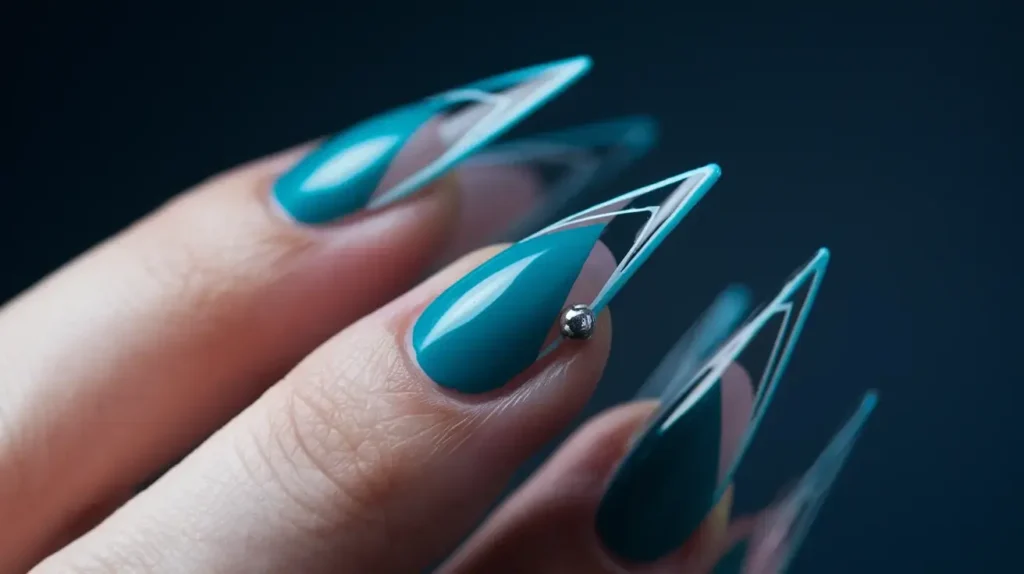
Stiletto Nail Tips
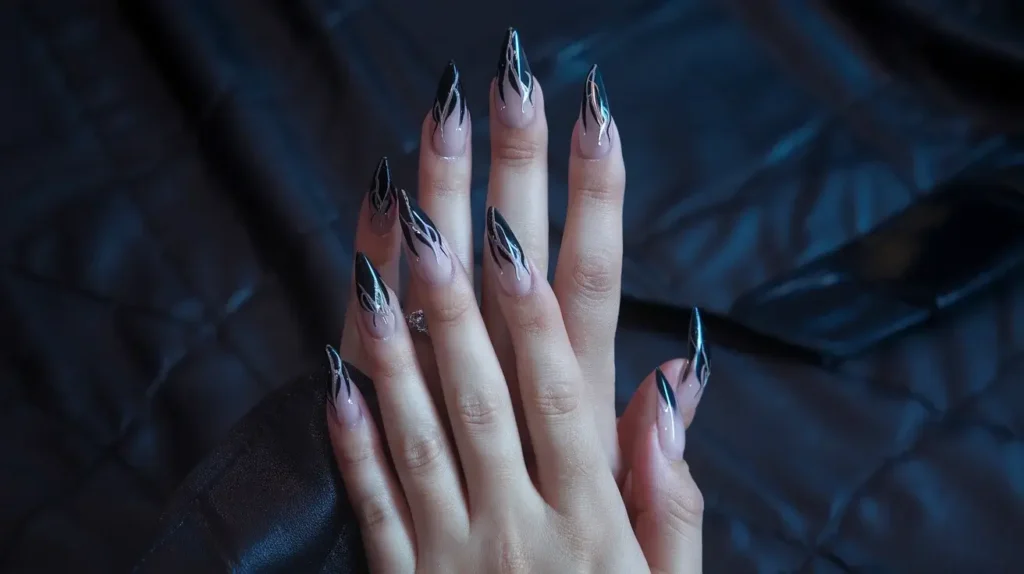
Tips that taper to a sharp, dramatic point. Perfect for statement looks and special occasions.
Pros: Very dramatic appearance, visually lengthens fingers, and makes nail art pop.
Cons: Not practical for daily tasks; tends to break easily.
Coffin/Ballerina Nail Tips
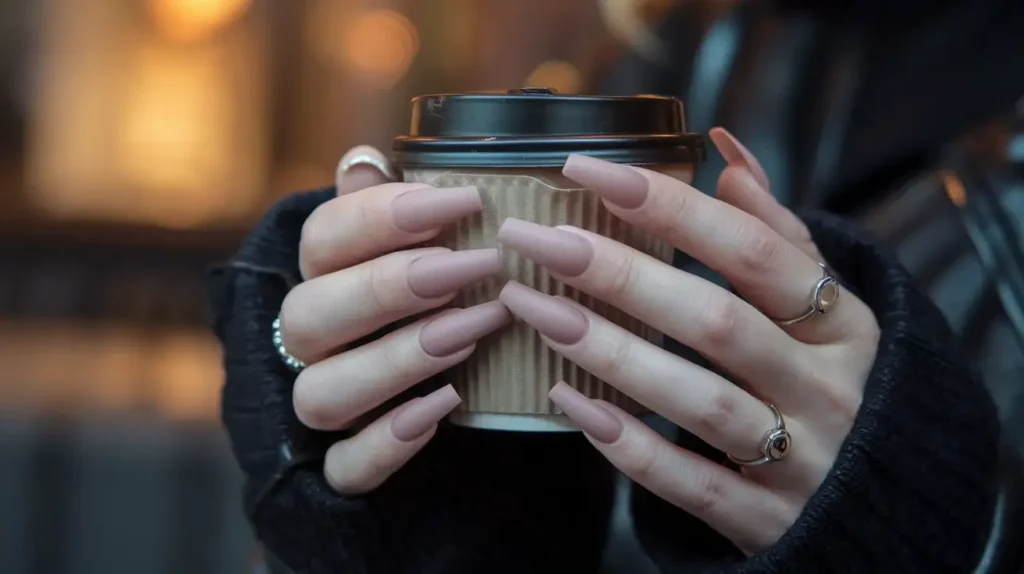
Long nails with curved sides that end in a square-cut tip. Ideal for bold fashion and social media photos.
Pros: Sleek, high-fashion look; very flattering on most hands.
Cons: Not ideal for heavy manual work; can snag on clothing easily.
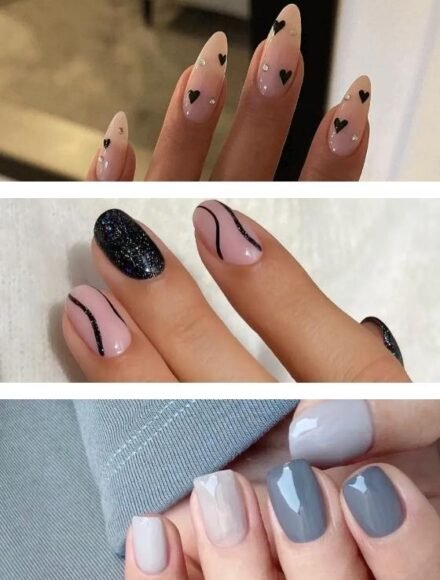
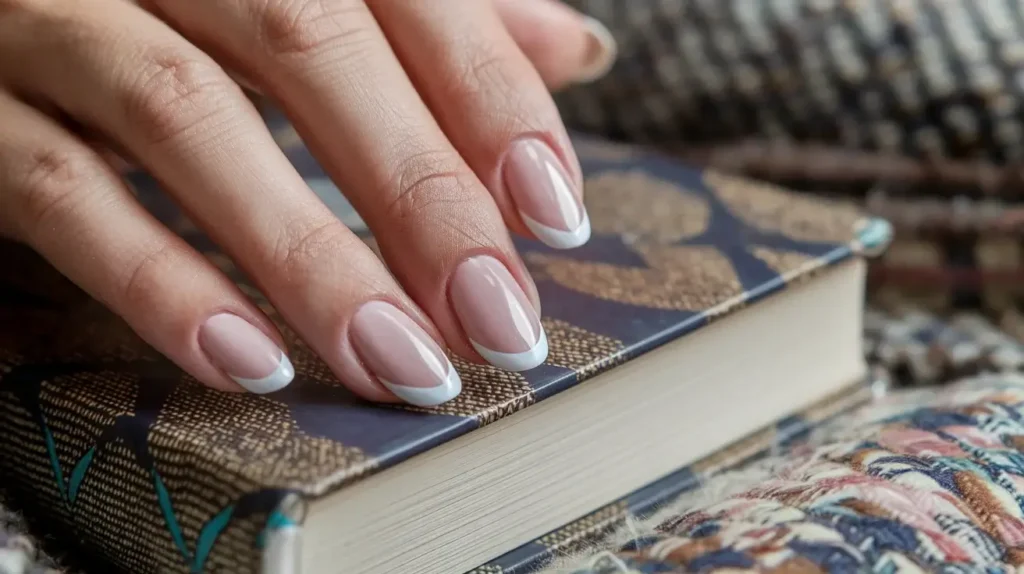
Almond Nail Tips

These tips have curved sides that taper gently to a rounded point. A fantastic choice for professional settings and everyday wear.
Pros: Comfortable, makes fingers look elegant and longer, and is less likely to break than sharp tips.
Cons: Less dramatic, may look “boring” to trend-focused clients.
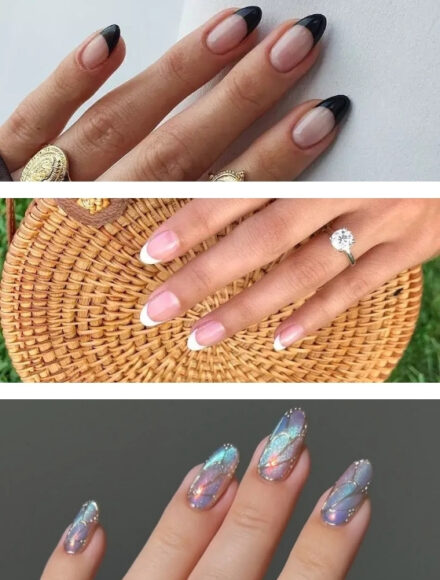
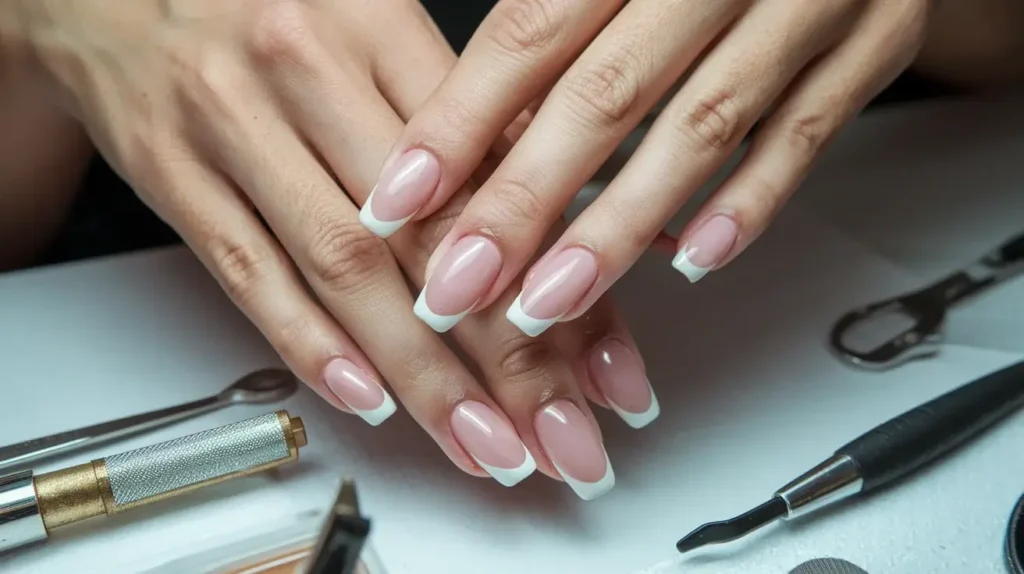
Square Nail Tips
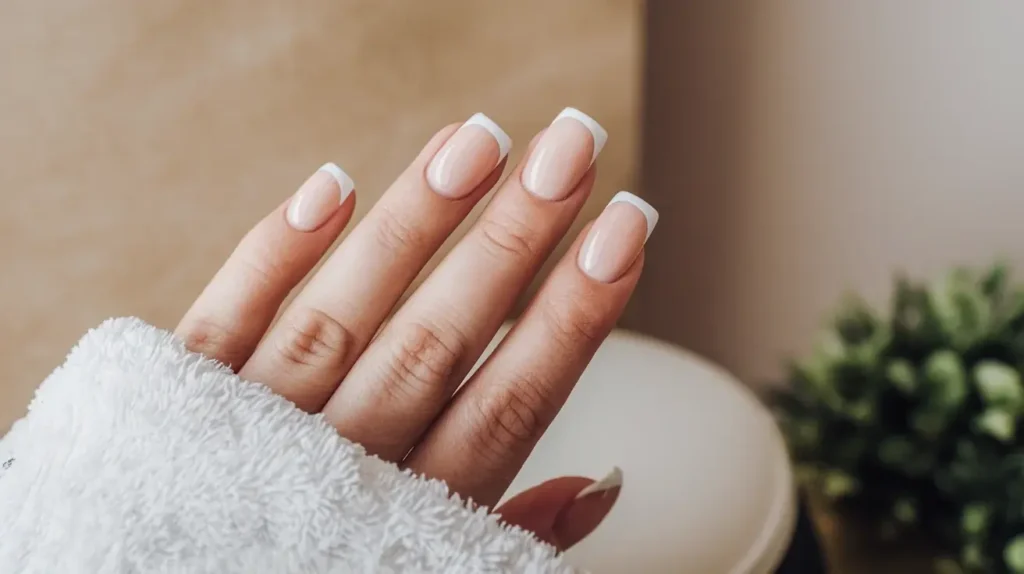
These tips are straight across with sharp corners. The classic choice for French manicures and conservative workplaces.
Pros: Timeless, durable, and very easy to maintain.
Cons: Sharp corners can snag clothes or hair; may look harsh on very wide nail beds.
Squoval Nail Tips
A perfect blend of square sides and rounded corners. Designed for active lifestyles and first-time tip users.
Pros: Easiest shape to maintain, very comfortable for daily tasks, and suits most natural nail beds.
Cons: Limited style options; can look quite basic.
Rounded Nail Tips
Tips that simply follow the natural curve of the fingertip. Great for people with short fingers or those in conservative roles.
Pros: Most natural appearance, comfortable, and eliminates snagging.
Cons: Limited length potential; may be perceived as “outdated” by younger clients.
Lipstick Nail Tips
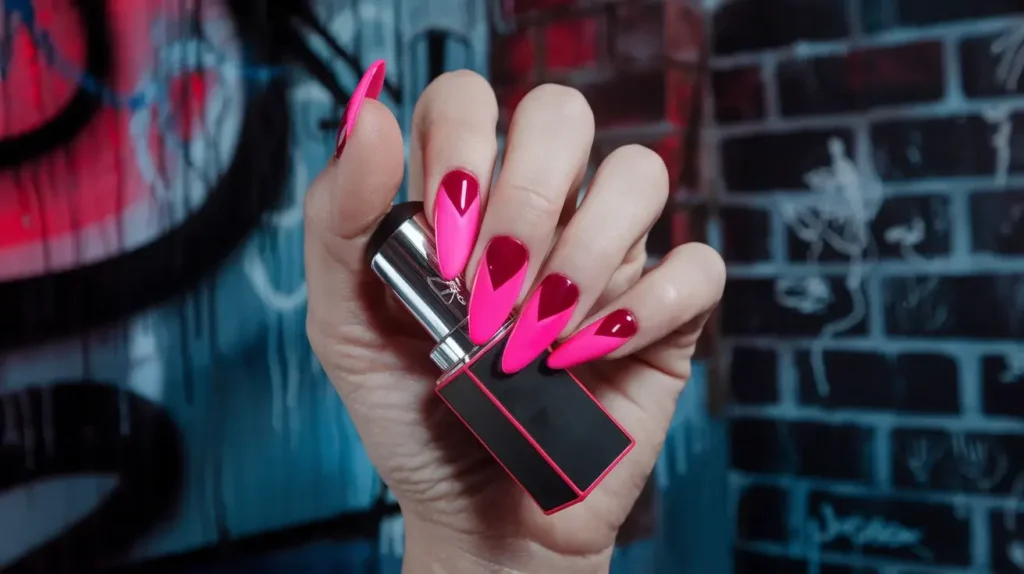
These tips feature an angled cut, just like the tip of a lipstick tube. Made for fashion-forward individuals and Instagram moments.
Pros: Very modern and trendy look; a great conversation starter.
Cons: Not practical; hard to maintain the specific angle; can look gimmicky.
Flare Nail Tips (Duck Tips)
Tips that dramatically curve outward (flaring) from the nail bed. Used for extreme artistic expression and runway looks.
Pros: Makes a very bold statement; perfect for 3D art.
Cons: Extremely impractical for daily life; breaks easily; looks highly unnatural.
Edge Nail Tips
Ultra-thin tips designed with sharp edges for a crisp, high-end look. Reserved for advanced artists and competition work.
Pros: Most natural blend and a professional finish.
Cons: Requires expert skill to apply; more expensive and harder to find.
Pipe Nail Tips
Tips sculpted to create a curved, pipe-like or cylindrical shape. Used for creative photo shoots and special effects.
Pros: Unique and creates interesting visual effects.
Cons: Completely impractical; hard to apply; limited availability.
Russian Almond Tips
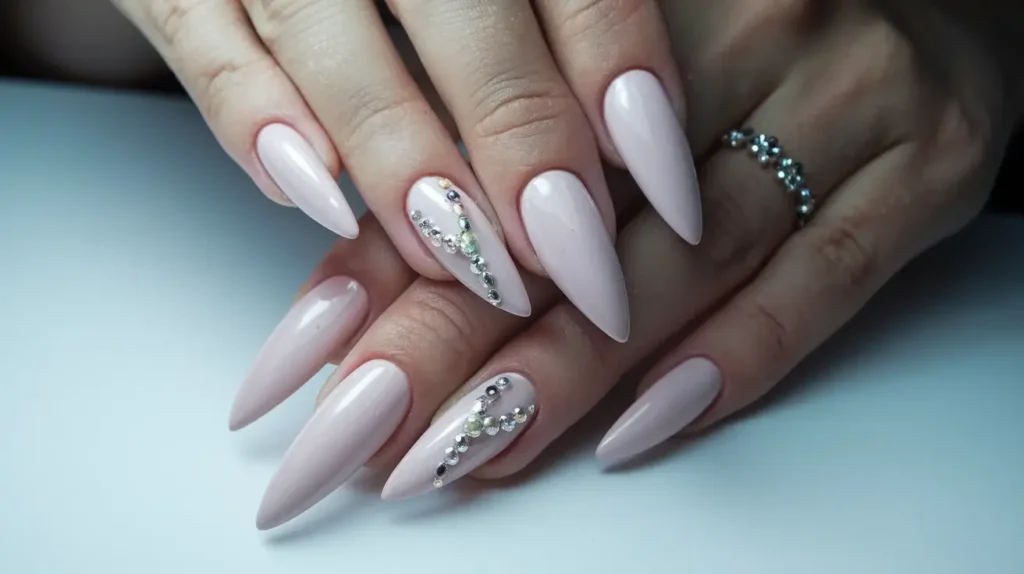
An extremely tapered amond shape that ends in a slightly sharper point than a standard almond. Currently very trendy in high-end salons.
Pros: Very refined, makes fingers look dramatically longer.
Cons: Requires highly skilled application; not practical for daily use.
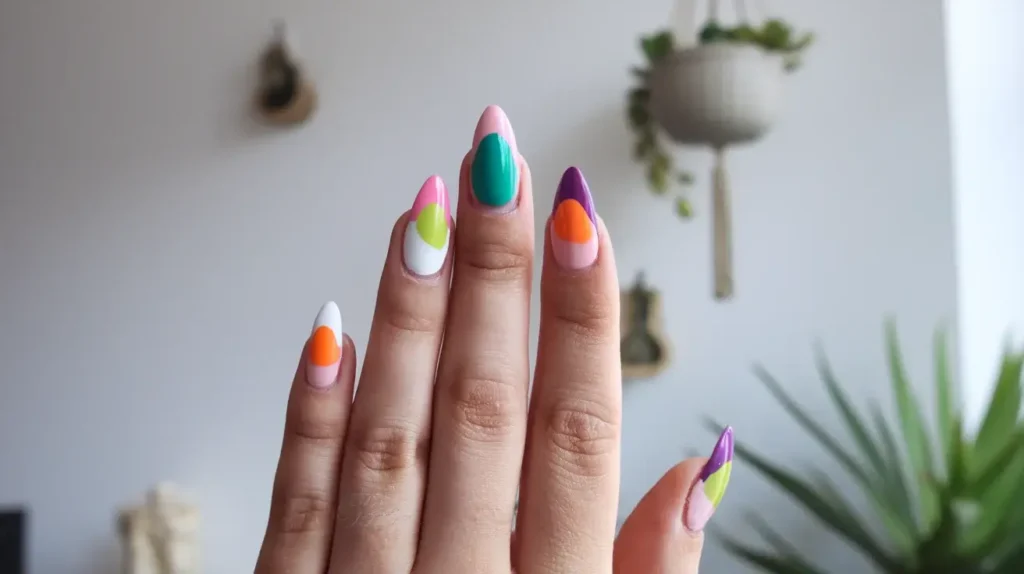
Reusable & Custom Nail Tips
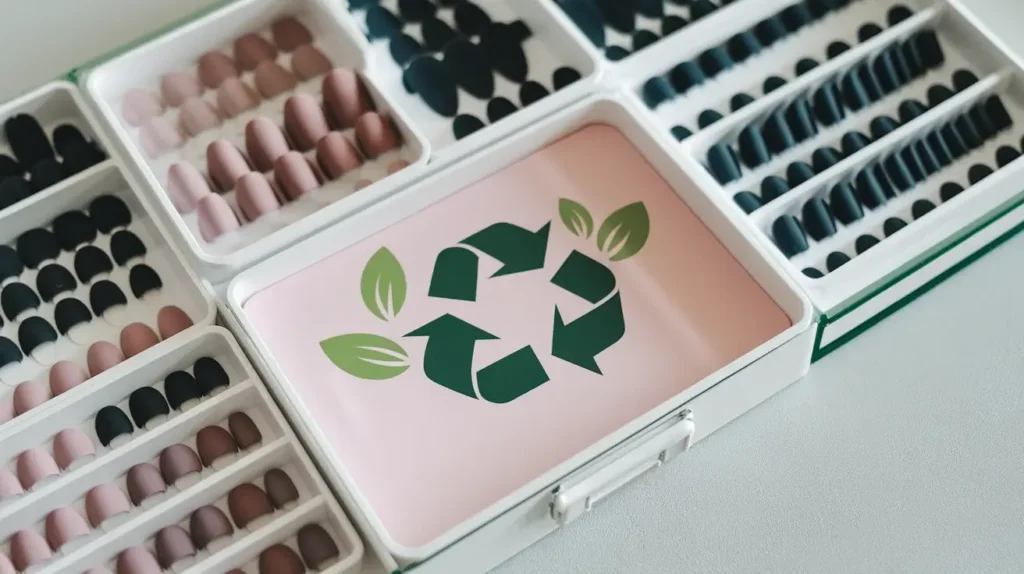
Tips designed for multiple uses or custom-designed shapes. Ideal for frequent tip users or eco-conscious clients.
Pros: Cost-effective in the long run; completely customizable; reduces waste.
Cons: Higher initial cost; requires proper cleaning and storage.
Tips vs. Extensions vs. Forms: What’s the Difference?
When you’re at the salon, you might hear a lot of terms. Here is a simple breakdown of how pre-made tips compare to other enhancement methods:
| Feature | Nail Tips | Nail Extensions | Nail Forms |
|---|---|---|---|
| What they are | Ready-made plastic enhancements | Length created manually using gel or acrylic | Flexible guides used to sculpt the nail |
| Application method | Attached to the natural nail with adhesive | Product is shaped directly onto the nail | Placed under the free edge to support building |
| Time required | Roughly 30–60 minutes | Usually 1–2 hours | Around 45–90 minutes |
| Skill level needed | Great for beginners | Requires advanced skill | Best for intermediate or pro techs |
| Cost | Approximately $15–80 | Typically $50–150 | About $40–120 |
| Durability | Lasts 2–4 weeks | Can last 3–6 weeks | Holds for 3–5 weeks |
| Natural look | Moderately natural finish | Very natural and seamless | Highly natural appearance |
| Customization | Comes in set shapes | Completely shapeable | Fully sculpted to preference |
| Removal process | Removed by soaking or filing | Filed off entirely | Filed off completely |
| Nail damage risk | Low to medium | Moderate risk | Low when applied correctly |
| Best for | Quick solutions and beginners | Long wear and creative designs | Precise shaping and pros |
| Maintenance | Needs regular refills | Requires scheduled fills | Routine fills needed |
My recommendation: If you are new to artificial nails, start with nail tips. They are easier to apply and less of a commitment. Extensions are best reserved for long-term wear and completely customized, unique looks.
Conclusion
The perfect nail tip exists for everyone, but your choice should always be driven by your lifestyle, not just what looks good on Instagram! If you have an active lifestyle, stick to the comfortable, durable Squoval or Rounded tips. If you have a desk job, the sleek Almond or Square tips are a great match.
Here is my final piece of professional advice: If you are a beginner, start with Half-Well Almond Tips. They are forgiving, comfortable, and universally flattering. The best nail tip is the one you can actually maintain without them limiting what you do every day. Find your perfect match, and you’ll never look back!
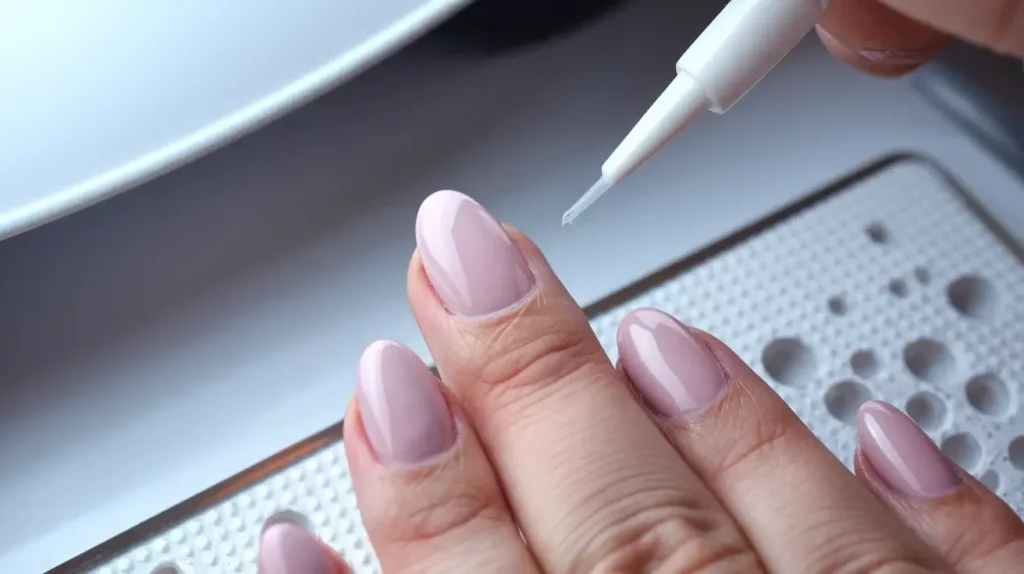
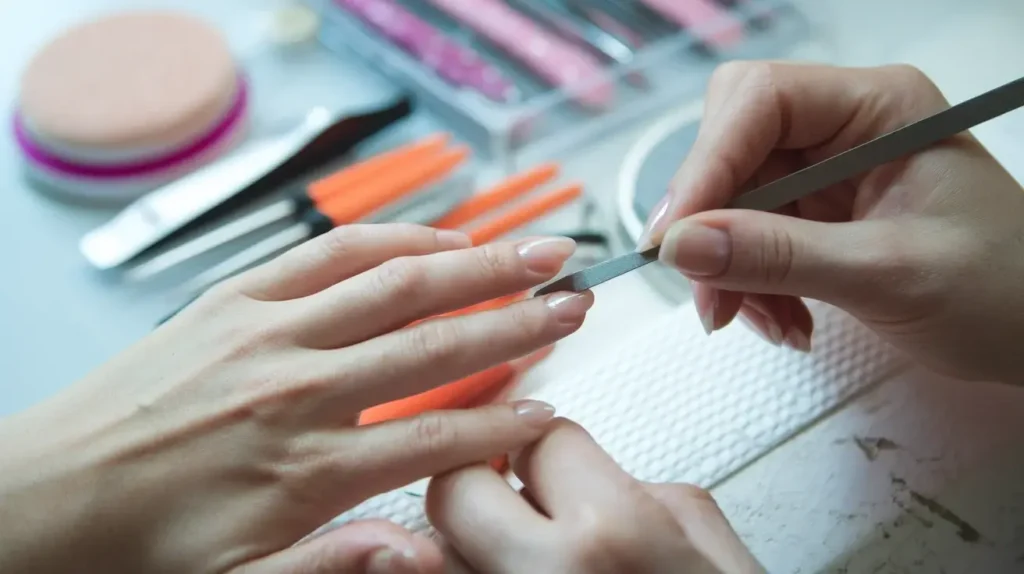
Expert Advice for Flawless Application
If you’re attempting tips at home or want to check your technician’s process, follow these key steps:
- Prep is Everything: Always push back your cuticles and lightly buff the nail surface to remove all natural oils. Oils prevent proper adhesion.
- The Sizing Trick: When choosing the size, always buy tips slightly smaller than your nail bed. You can file them wider, but you cannot make them smaller. A slightly small tip is easier to blend seamlessly.
- Avoid Air Bubbles: Apply a thin, even layer of glue and press the tip firmly down for a full 10 seconds, rolling it slightly to squeeze out any air bubbles, which can lead to lifting.
- Buff the Seam: After the tip is set, carefully file and buff the seam (where the tip meets your natural nail) until it is perfectly smooth. This is the secret to making the tip look like a natural extension of your nail.